🎨 Video-to-Video Restyling: Where the Look Falls Apart
Style transfer holds beautifully on a single shot and breaks across a cut. What survives an edit, what flickers, and how to grade around the failure.

Tomás Rivera · Film Editor & AI Cinematography Writer
· 5 min read
⚡ TL;DR — quick answers
- What is video-to-video style transfer?
- You feed in real footage and a style direction, and the model re-renders your existing shot in that look rather than generating a new scene from scratch. The motion, blocking and timing come from your plate; only the surface changes. That is the appeal for anyone cutting to picture: you keep the performance you already shot.
- Why does restyled video flicker?
- Because most pipelines make style decisions with limited memory of the previous frame, so a region that was rendered one way at frame 12 gets rendered slightly differently at frame 13. The eye reads that as boiling or crawling. It concentrates in low-contrast areas, fine texture, and anything moving fast, which is why hair, fabric and hands are the usual offenders.
- Can I cut restyled shots into normal footage?
- Sometimes, and it is harder than it sounds. Restyled shots arrive with baked-in contrast and colour decisions that will not match your graded plate, so you are matching a look you no longer fully control. Cutting stylised against photoreal in the same sequence usually reads as a mistake unless the style change is motivated in the edit.
Key takeaways
- Restyling judges beautifully on one shot and badly across a sequence. Temporal consistency, not per-frame quality, is what decides whether it cuts.
- Flicker concentrates in low-contrast areas and on anything that moves fast. Faces and hands break first, exactly as they do in lip sync and animation.
- Lock your look on the hardest shot in the sequence, never the prettiest one, or you will grade the whole edit to a standard the rest cannot meet.
- Restyled footage grades differently from source: it arrives with baked-in contrast decisions, so plan to do less in the grade rather than more.
I cut commercials for two decades before any of this existed, and the reflex it left me with is useful here: judge a look on the shot you are most worried about, not the one that made you want to try it. Style transfer punishes the opposite instinct harder than almost any tool I have used.
By the numbers
- Restyling re-renders your own plate, so motion, blocking and timing survive; only the surface changes
- Failure is temporal, not spatial: individual frames look fine, the sequence boils
- Flicker concentrates in low-contrast regions, fine texture and fast motion — hair, fabric, hands
- Cost per usable shot is governed by retakes, the same multiplier as any AI video work
One shot is not a sequence
Every demo of this technology shows you a single shot, and single shots are where it is strongest. Drop the same setup into a timeline with a cut in it and a different problem appears: shot A and shot B were restyled independently, so the look drifts between them. Slightly different contrast, slightly different colour bias, and the cut announces itself.
On the bench this reads immediately. You watch the cut and something is wrong before you can name it, which is exactly the sensation of a bad match-grade. That is the honest limitation. Not that the images are poor, but that they were each solved in isolation and a sequence is not a set of isolated problems.
So what: restyle a sequence, review it on a timeline, and judge at the cut rather than in the player.
Where it breaks, in order
Faces and hands first. Same as lip sync, same as animation, for the same reason: we have enormous perceptual budget allocated to both, so a small inconsistency reads as wrong rather than as stylised. The character consistency guide covers the identity side of this, and the failure mode rhymes.
Fine texture second. Hair, foliage, fabric weave. Any region where the model has to decide detail rather than preserve it becomes a region where it decides differently each frame.
Low-contrast areas third. Shadow detail and flat walls crawl because there is little structure anchoring the decision from frame to frame.
Fast motion makes all three worse, which is a genuinely useful thing to know at the shooting stage: if you know a shot is heading for restyling, shoot it with more contrast and less handheld than you otherwise would.
Lock the look on the ugliest shot
This is the working rule I would give anyone starting out, and it is the one I broke first. Pick the hardest shot in the sequence: the one with the moving hands, the busy background, the low-contrast wall. Develop your style direction on that. If it survives there, it survives everywhere. If you develop it on the beautiful locked-off close-up, you will lock a look the rest of the edit cannot deliver, and you will discover that after you have already cut to it.
There is a cutting-room version of this I have watched play out more than once: the director falls in love with the test shot, the test shot was the easiest shot, and the entire grade gets built around a standard nothing else in the sequence can meet. Restyling reproduces that pattern faithfully.
So what: your style test should use your worst shot, and you should build the budget around that result.
What it does to your grade
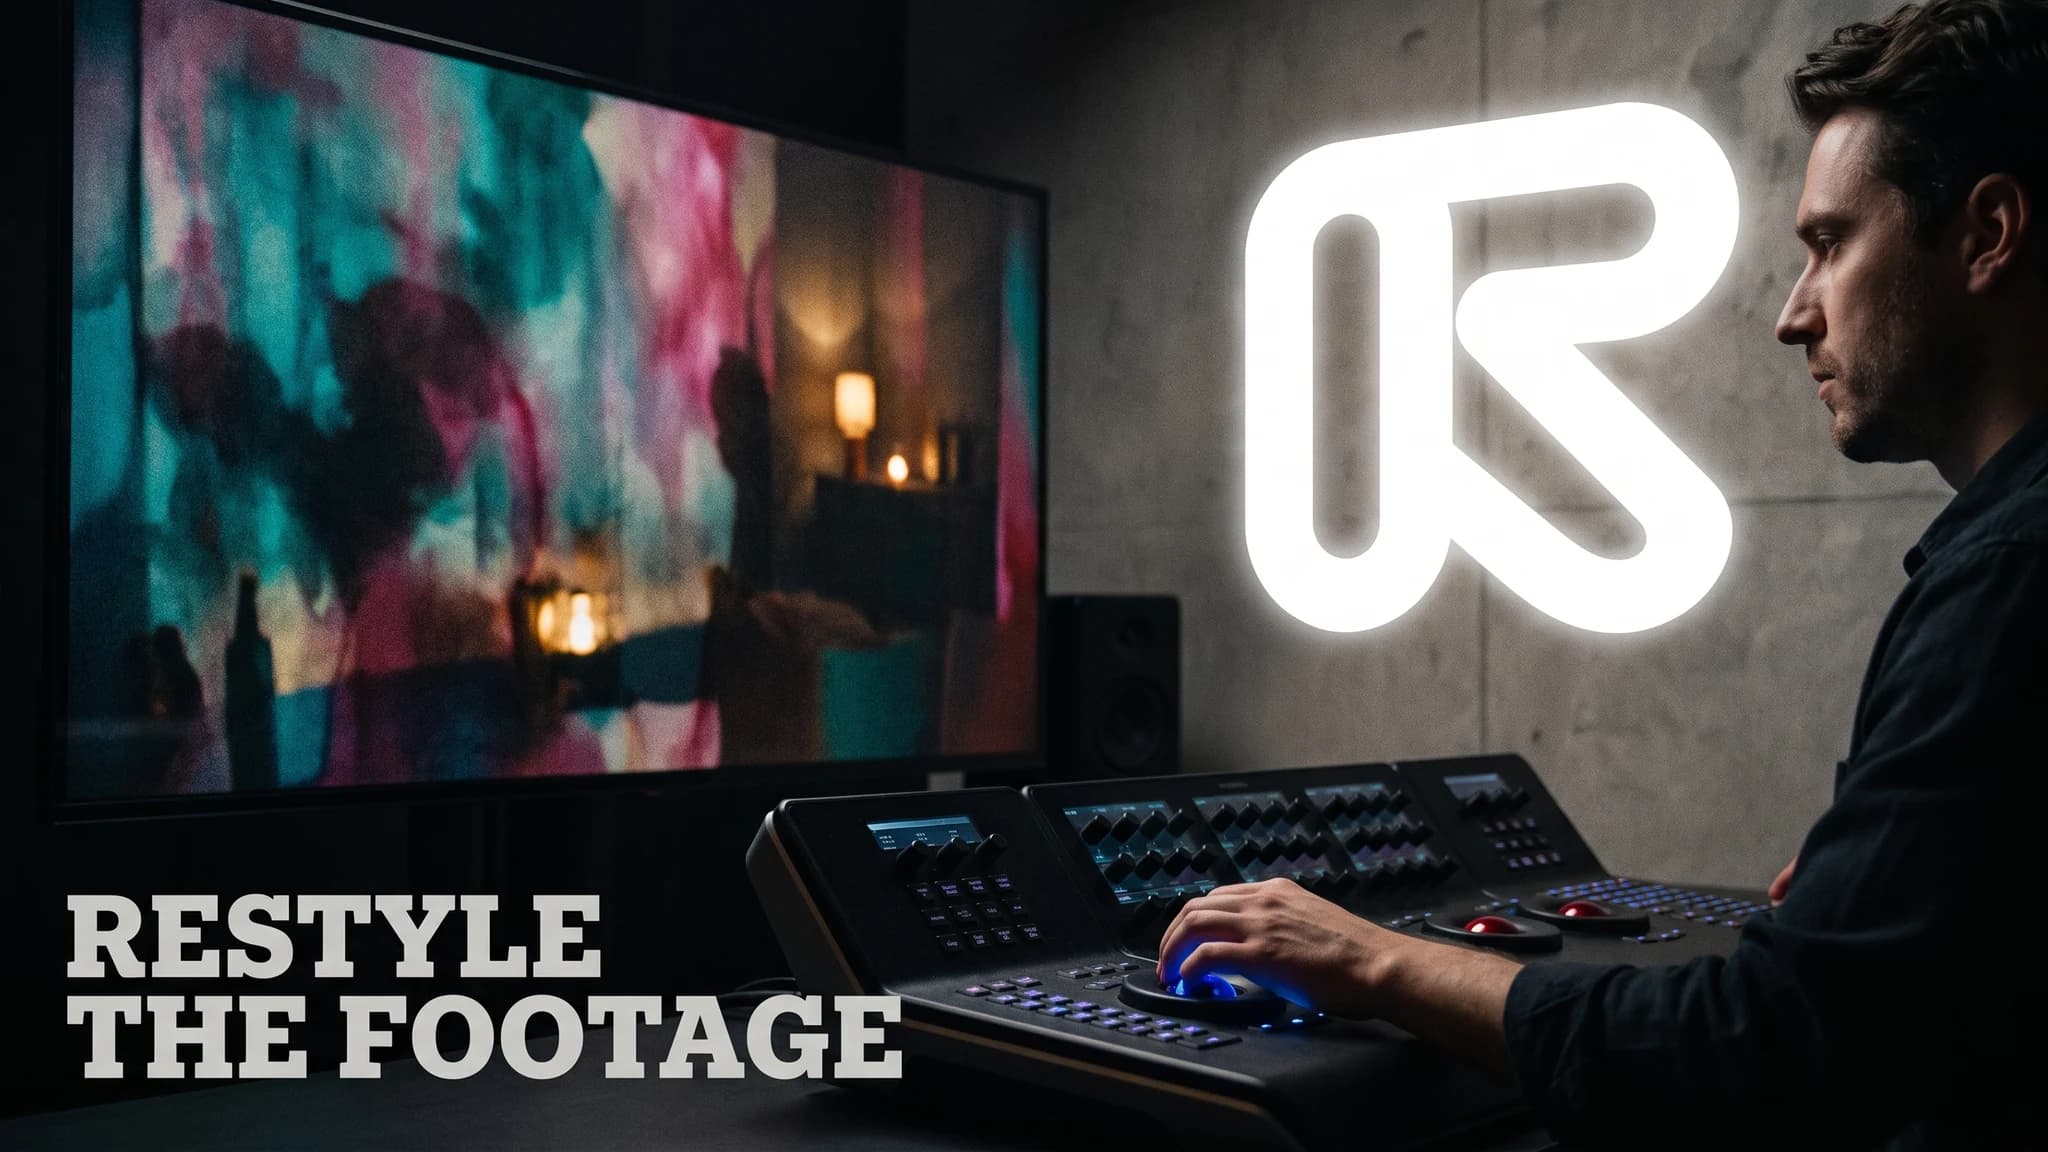
Restyled footage arrives opinionated. Contrast decisions, colour bias and often a degree of sharpening are baked in, and you are no longer starting from a neutral plate. In practice that means doing less in the grade rather than more, because pushing an already-processed image tends to reveal the processing.
Plan the pipeline accordingly: get the look as close as possible in the restyle, then use the grade to match shots to each other rather than to establish a look. That is the inverse of how I would normally work with real footage, and getting it backwards is the most common way restyled sequences end up looking cheap.
Where it genuinely earns its place
Where the performance matters and the world does not. You have a take you like, with timing and eyeline you cannot regenerate, and you want it to live somewhere other than the room you shot it in. That is a real problem restyling solves and a generated shot does not, because generation gives you a new performance you did not choose.
For everything else, weigh it against simply generating the shot. Our Runway and Kling comparison covers the generative side, and the b-roll guide covers the cheaper case where you only need atmosphere rather than a specific performance.
Testing it without wasting a budget
The cheap test is short and specific. Take three shots from the actual sequence: your hardest, one mid-difficulty, and one wide. Restyle all three with the same direction, cut them together in that order, and watch it twice. If the cut between the hard shot and the wide one holds, the look will survive the edit. If it does not, no amount of per-shot iteration will fix it, because the problem is consistency across renders rather than quality within one.
That test costs three renders and answers the only question that matters. Compare it to the usual approach, which is restyling the whole sequence, discovering the drift in the timeline, and paying to redo all of it with a modified direction.
Keep your source plates organised, too. You will be re-running shots as the style direction changes, and the single most annoying way to lose an afternoon is discovering the exact frame range you restyled is no longer easy to reproduce from the original media. Name the exports after the timeline, not after the render job.
So what: test on three shots cut together before committing a sequence.
Where I land
Restyling is a shot-level tool that people keep buying as a sequence-level one. Used on a hero shot with a performance worth keeping, it is genuinely good. Used across a whole edit, expect to spend your savings on the flicker pass and the match-grade. Cut it against your real footage before you commit, because the player never tells you what the timeline will.
Sources & further reading
Outside figures cited above. First-hand test results are our own and noted as such in the text.
Frequently asked questions
▸What is video-to-video style transfer?
You feed in real footage and a style direction, and the model re-renders your existing shot in that look rather than generating a new scene from scratch. The motion, blocking and timing come from your plate; only the surface changes. That is the appeal for anyone cutting to picture: you keep the performance you already shot.
▸Why does restyled video flicker?
Because most pipelines make style decisions with limited memory of the previous frame, so a region that was rendered one way at frame 12 gets rendered slightly differently at frame 13. The eye reads that as boiling or crawling. It concentrates in low-contrast areas, fine texture, and anything moving fast, which is why hair, fabric and hands are the usual offenders.
▸Can I cut restyled shots into normal footage?
Sometimes, and it is harder than it sounds. Restyled shots arrive with baked-in contrast and colour decisions that will not match your graded plate, so you are matching a look you no longer fully control. Cutting stylised against photoreal in the same sequence usually reads as a mistake unless the style change is motivated in the edit.
▸Is restyling cheaper than generating a scene?
Usually per-shot, because you are not iterating on composition — the framing and performance are already locked by your plate. The saving disappears if the style needs many attempts to stop flickering, which is the same retake multiplier that governs all AI video cost. Price it per usable shot, not per render.
The 5 best AI video finds, every week
New models, tested prompts, and what actually worked in our production — one short email a week. No spam, unsubscribe anytime.
Written by Tomás Rivera
Film Editor & AI Cinematography Writer
Cut commercials and short films for two decades before AI video existed, and now grades every generator the way he graded dailies. Cares about continuity, coverage, and where the cut breaks — not demo reels.
Explore these topics
Every guide, comparison and prompt library we have on each.