🎬 Seedance 2.0 Guide (2026): Settings, Prompts & Workflow
What we've learned with Seedance 2.0: where to run it, image vs text-to-video, the cheap-render trick, prompting rules, and avoiding moderation false positives.
Jordan Reyes · AI Video Producer
· Updated · 5 min read
⚡ TL;DR — quick answers
- Is Seedance 2.0 free to use?
- Not really. Some platforms offer trial credits, but sustained use is credit-based. The practical way to keep costs down is rendering drafts at low resolution and only upscaling the takes you keep.
- What's the best resolution to render in Seedance 2.0?
- For drafts, render at 480p and upscale your selected takes to 1080p with an upscaler. Motion and composition read fine at 480p, and you'll iterate 3-4x more per dollar than rendering everything at full resolution.
- Why does Seedance keep rejecting my prompt for moderation?
- Seedance's safety filter throws false positives on emotionally charged words (distress, trapped), tight solo close-ups of people, and certain settings like railings or high windows. Reword neutrally — describe the shot, not the emotion — and most rejections disappear.
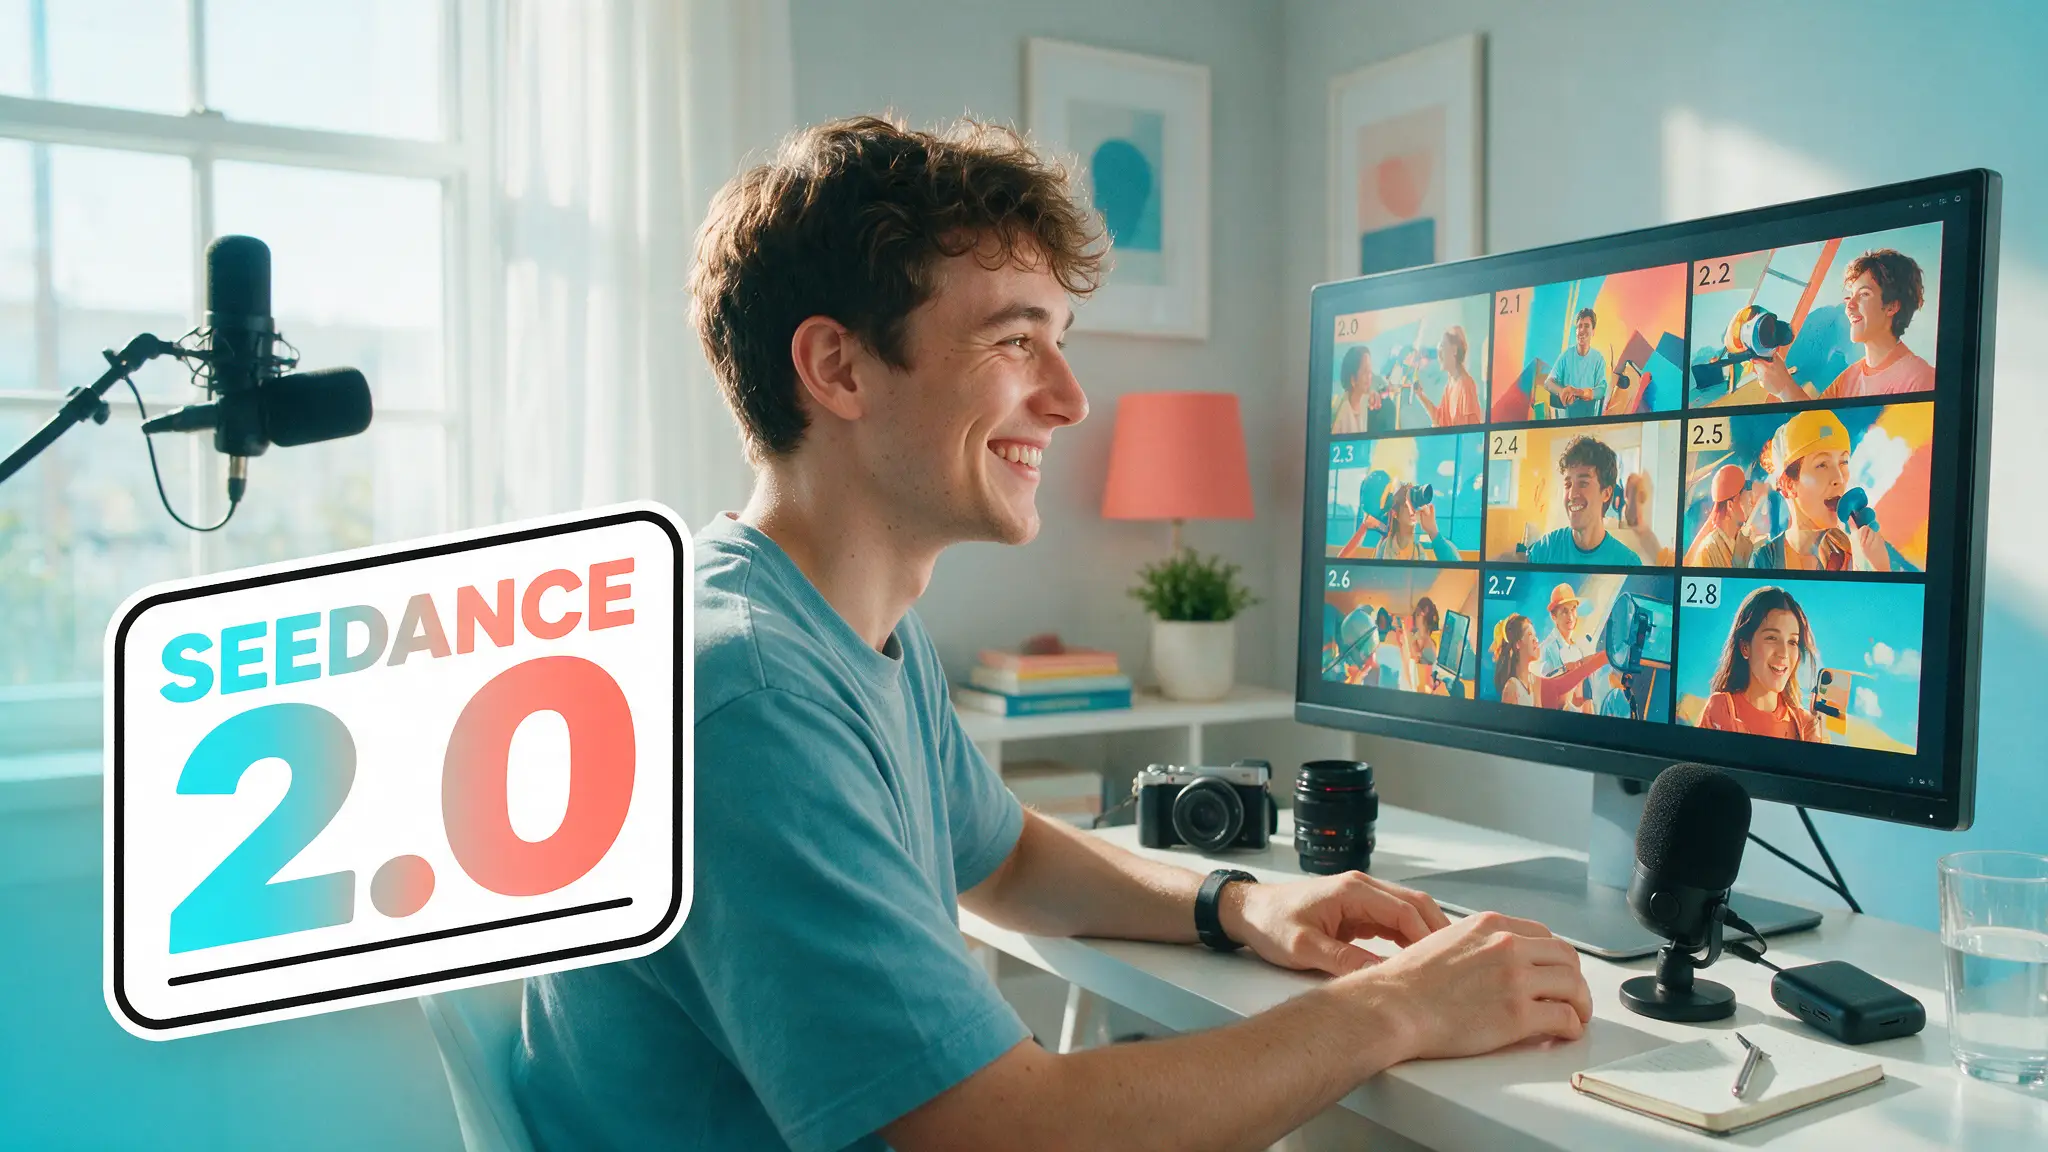
Seedance 2.0 is ByteDance's flagship AI video model, and it's the one we use more than any other in real production — faceless YouTube channels, music videos, and documentary-style shorts. This guide is not a feature list from a press release. It's the workflow that survived hundreds of paid generations.
What Seedance 2.0 actually is
Seedance 2.0 is a text-to-video and image-to-video model known for three things:
- Multi-shot generation — it can produce an edited sequence (wide → close-up → insert) in a single generation, which no other mainstream model does as well.
- Strong prompt adherence — camera directions like "slow dolly-in" or "whip pan" are actually followed.
- Reference power — you can feed it character and style references so the same face and grade survive across shots.
You don't run Seedance from ByteDance directly in most regions — you access it through platforms like Higgsfield, fal.ai, or BytePlus API. Platform choice matters less than workflow, but all-in-one platforms bundle image models and upscalers, which you'll need.
Start with this beginner walkthrough — it covers the interface and basic generation loop.
The workflow that saves 60–70% of your credits
This is the single most valuable thing in this guide. Almost everyone renders at maximum quality from the first attempt and burns their budget on rejected takes.
Our production loop:
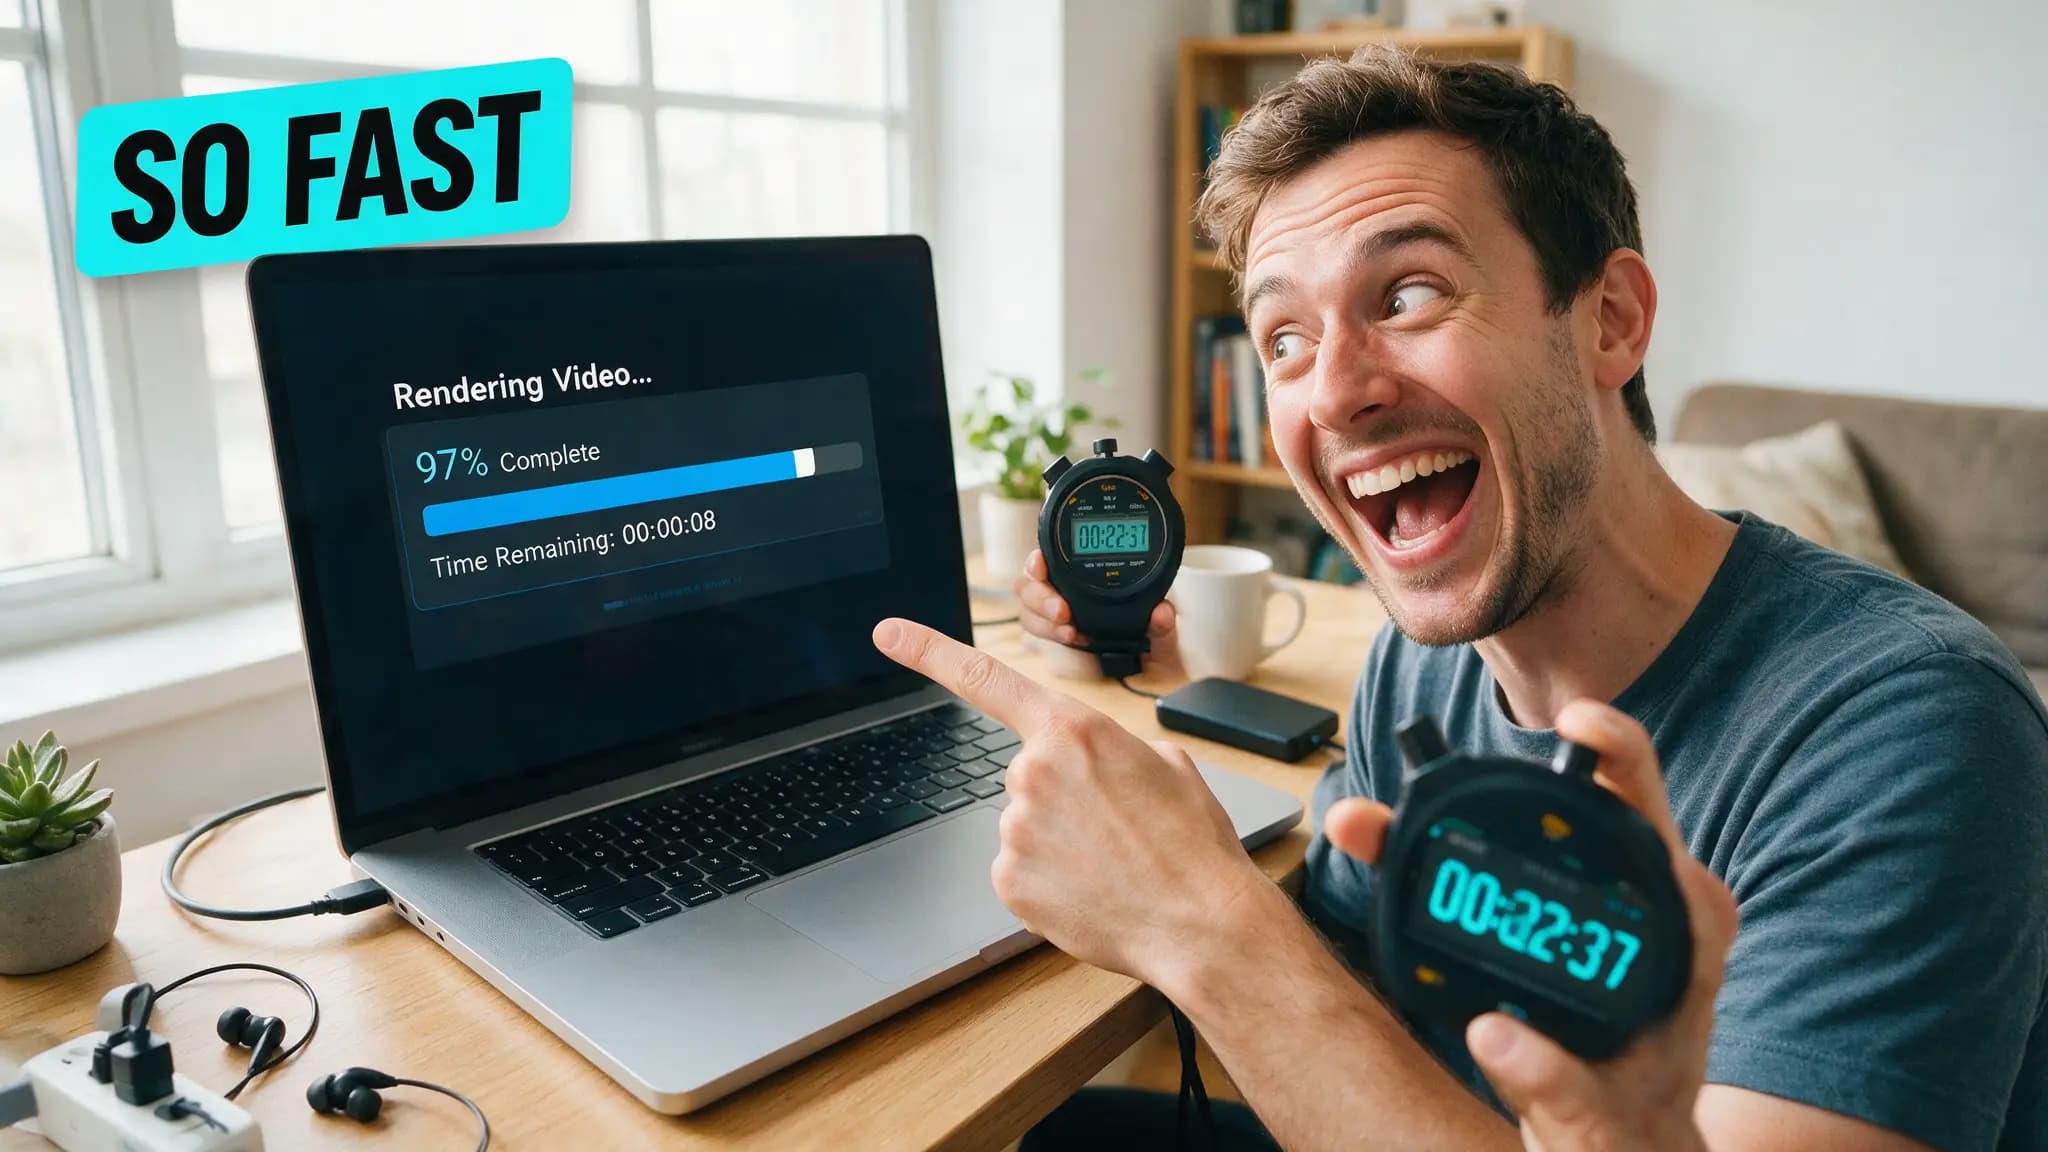
- Draft at 480p. Composition, motion, and timing all read perfectly well at 480p. Generate 2–3 variations of each shot cheap.
- Select. Pick the take that works. Kill the rest.
- Upscale only the keeper to 1080p (or 4K for hero shots) with a video upscaler.
Iterating at draft resolution means you can afford three attempts per shot instead of one. Quality of your final video goes up while spend goes down. On a recent 12-shot short we drafted every shot at 480p (2–3 takes each) and upscaled only the 12 keepers — the credit bill came out roughly a third of what rendering every take at full resolution would have cost, and nobody watching the final 1080p video can tell the difference.
Text-to-video vs image-to-video: when to use which
Text-to-video is fine for abstract b-roll and stylized content. But for anything requiring a consistent character, a specific location, or photorealism, image-to-video wins decisively:
- Generate a high-quality still first (we use Nano Banana Pro or GPT Image at 2K–4K).
- Feed the still to Seedance as the first frame.
- Prompt motion only. The image already locks the look — your prompt should describe what moves, not what things look like. Re-describing the scene fights the reference and causes drift.
We break the full still→motion pipeline down in our image-to-video workflow guide.
For character consistency across a whole video, use reference images — but note what actually works: a clean headshot plus a full-body shot outperform elaborate multi-angle turnaround sheets as video references.
Prompting rules that survived production
These are the rules we follow after a lot of wasted credits — the full copy-paste collection is in our Seedance 2.0 prompt library:
- One camera move per shot. "Dolly in, then pan left, then crane up" produces mud. Pick one move; cut between shots for variety.
- Never write the word "fast." It's counterintuitive, but asking for "fast" motion degrades output quality — you get smearing and artifacts. For speed, use whip pan or progressive acceleration instead; for perceived pace, cut faster in the edit.
- Structure your prompt: subject → action → camera → lighting → style. Front-load what matters most.
- Don't fight the model with timestamps. Rigid second-by-second scripts underperform. Describe the beat sequence and let the model handle timing.
Avoiding moderation false positives
Seedance's safety filter is strict and produces false positives on completely innocent content. Patterns we've confirmed trigger it:
- Emotionally charged words: "distressed," "trapped," "desperate" — even in clearly fictional context
- Tight solo close-ups of a single person, especially with emotional descriptors
- Certain locations: railings, balconies, high windows, bridges (self-harm heuristics)
The fix is neutral, technical language. Instead of "a desperate woman trapped in a room," write "a woman stands in a dimly lit room, looking toward the window, cinematic lighting." Describe the composition, not the emotion — the performance still comes through.
A full workflow, end to end
Here's a complete real-world Seedance production flow inside a platform.
Our checklist for a 10-shot video:
- Write the shot list first (subject, action, one camera move each)
- Generate stills for key shots (locks look + characters)
- Draft all shots at 480p, 2–3 takes each
- Select takes, upscale keepers to 1080p
- Stitch with your editor (we use ffmpeg for automation), add VO and sound
If you're choosing between Seedance and its main rival for your use case, read our head-to-head: Kling vs Seedance.
What changed: Seedance 2.5 has launched
ByteDance shipped Seedance 2.5 in early July 2026 — native 4K output, 30-second single generations, and a 3D pre-visualization mode for blocking camera moves before final rendering. It does not retire this guide: 2.0 remains the documented, moderation-mapped, prompt-library-backed workhorse, and ByteDance's version history suggests 2.0 prompts should carry forward largely unchanged. If you're producing today, stay on 2.0. If you're evaluating the new native-4K economics and pre-viz workflow, we cover what's confirmed so far — and what we're still testing — in the full Seedance 2.5 guide.
Prefer video? Hand-picked walkthroughs
Reading is faster, but if you want to see it done, these are the best tutorials we vetted for this topic:
Frequently asked questions
▸Is Seedance 2.0 free to use?
Not really. Some platforms offer trial credits, but sustained use is credit-based. The practical way to keep costs down is rendering drafts at low resolution and only upscaling the takes you keep.
▸What's the best resolution to render in Seedance 2.0?
For drafts, render at 480p and upscale your selected takes to 1080p with an upscaler. Motion and composition read fine at 480p, and you'll iterate 3-4x more per dollar than rendering everything at full resolution.
▸Why does Seedance keep rejecting my prompt for moderation?
Seedance's safety filter throws false positives on emotionally charged words (distress, trapped), tight solo close-ups of people, and certain settings like railings or high windows. Reword neutrally — describe the shot, not the emotion — and most rejections disappear.
▸Can Seedance 2.0 do multiple shots in one generation?
Yes — multi-shot, edited sequences inside a single generation are one of its biggest strengths, which makes it particularly good for cinematic, documentary-style content.
The 5 best AI video finds, every week
New models, tested prompts, and what actually worked in our production — one short email a week. No spam, unsubscribe anytime.
Written by Jordan Reyes
AI Video Producer
Runs multiple faceless YouTube channels and tests every major AI video model against the same prompts before recommending one. Tracks render time and credit cost like other people track calories.
Explore these topics
Every guide, comparison and prompt library we have on each.
Keep learning

Seedance · Workflow & Craft
 Comparisons
Seedance 2.5 vs Meta Muse Video: Honest 2026 Verdict
Meta's Muse Video does face cloning at $19/month. Seedance 2.5 does 30-second production shots. We use one daily — here's which job each actually wins.